Warrior III: Unlock Strength and Stability
Mastering Warrior III is a journey that tests both your physical and mental boundaries, strengthening your body and boosting your focus. As you practice, let the pose’s historical and mythological significance inspire you to embody the warrior spirit within.

Historical Background: The Legend Behind Virabhadrasana III
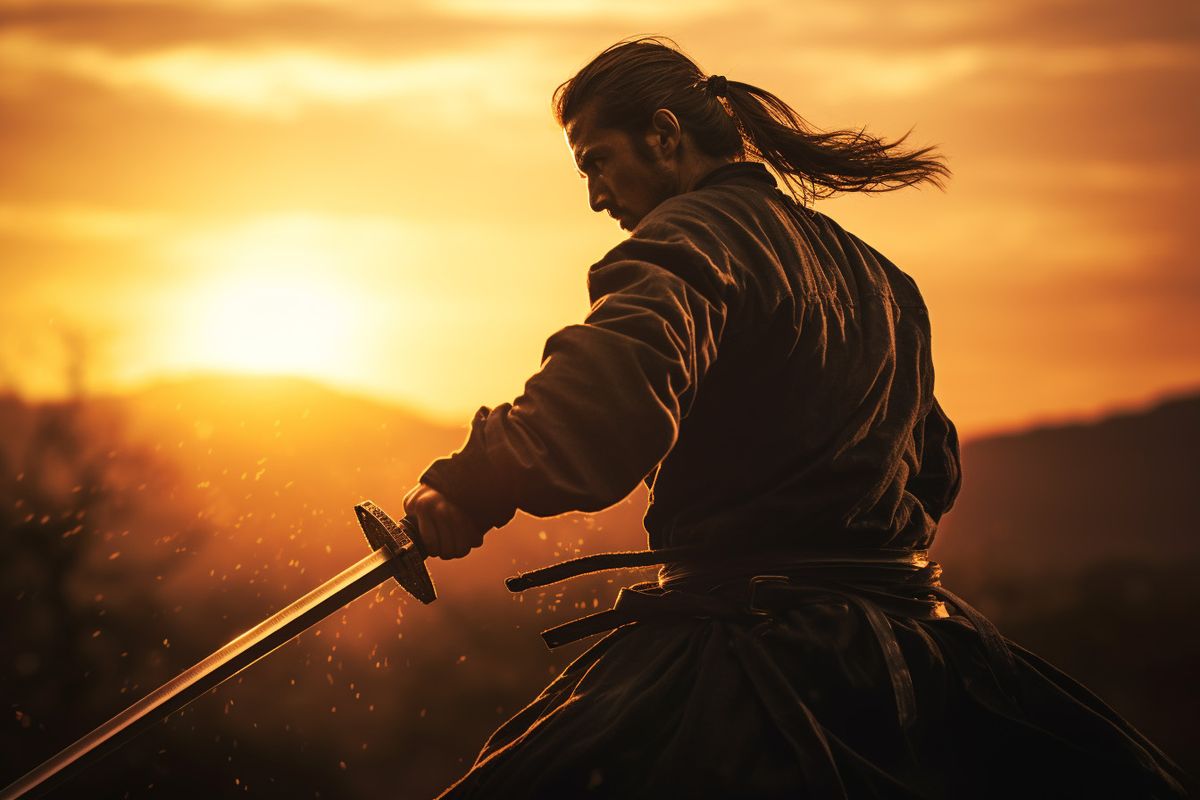
Warrior III pose derives its name from Virabhadra, the mythical warrior created by the god Shiva. This asana represents the final form of Virabhadra, symbolizing the ultimate focus and balance required to maintain peace and justice. It captures the essence of the warrior’s steadiness and purposeful intent.
Physical Benefits: Master Strength and Balance
Build Leg and Hip Strength
The pose places significant demands on the muscles of the standing leg, including the quadriceps, hamstrings, and calf muscles. Additionally, the glutes and hip flexors actively engage to lift and hold the extended leg.
Core Activation for Stability
In order to hold your torso and extended leg in a straight line, your core muscles are fully activated. This not only helps maintain balance but also fortifies your abdominal muscles, aiding in better posture and core stability.
Spinal Alignment and Postural Awareness
Maintaining a flat back and a neutral neck throughout the pose encourages better spinal alignment. The act of holding yourself steady in this challenging position hones your postural awareness, potentially rectifying slouching and other misalignments.
Upper Body Conditioning
Your arms, extended out in front, also get a workout, strengthening the shoulders and back. The scapular muscles, deltoids, and even your biceps and triceps work in unison to maintain the arm position, enhancing upper body strength and endurance.
Increase Flexibility and Range of Motion
Though often overlooked, Warrior III also assists in improving flexibility. The hamstrings of the standing leg get a mild stretch, as do the muscles of the lower back and shoulders. This contributes to a greater range of motion over time.
Enhance Coordination and Motor Skills
This pose requires keen body awareness and coordination, skills that translate well into other physical activities and daily life. The process of aligning your body while balancing on one leg enhances neuromuscular communication, boosting overall coordination and fine-tuning motor skills.
Step-By-Step Instructions: Your Path to Warrior III
Mastering Warrior III involves a sequence of precise steps. Each step sets the foundation for the next, allowing for a deepening of the pose and the benefits it offers.
Step 1: Begin in Mountain Pose (Tadasana)
Start with your feet hip-width apart and your arms resting comfortably at your sides. Make sure to distribute your weight evenly across both feet, grounding yourself into the mat with mountain pose.
Step 2: Engage Your Core and Legs
Activate your core muscles and engage your quads by lifting your kneecaps. This foundational engagement will help stabilize you as you move into Warrior III.
Step 3: Transition to Warrior I (Virabhadrasana I)
Take a large step back with your right foot, keeping your left foot forward. Bend your left knee into a lunge while maintaining a squared hip alignment to the front of the mat. Extend your arms overhead, keeping them parallel. Warrior I is the foundation for the next steps.
Step 4: Move Into Prayer Position (Anjali Mudra)
Bring your hands to your heart center, pressing your palms together. This is known as Anjali Mudra, or Prayer Position, which aids in balance and focus.
Step 5: Shift Your Weight Forward
Lean slightly forward, shifting your weight onto your left leg. Your right foot should hover just off the mat, toes pointed towards the floor.
Step 6: Prepare for Lift-Off
Take a deep inhale, bracing your core and grounding down through your standing foot.
Step 7: Extend Into Warrior III
As you exhale, hinge at your hips and tip your torso forward while simultaneously lifting your right leg. Aim to bring your body parallel to the floor.
Step 8: Choose Arm Position
You can either extend your arms forward, parallel to the ground, or keep them in Anjali Mudra at your heart center. The choice depends on your level of balance and comfort.
Step 9: Align Your Body
Create a straight line from the crown of your head to your lifted heel. Your gaze should be focused downward to maintain a neutral neck.
Step 10: Breathe and Hold
Stay in the pose for 3 to 5 deep breaths, feeling your standing leg and core working hard to maintain balance.
Step 11: Balance Time on the Other Side
Slowly lower your lifted leg and return to Warrior I or Mountain Pose. It's crucial to repeat the entire sequence on the other leg to ensure balanced muscle engagement on both sides.
Step 12: Close the Pose
Once both sides are completed, transition back to Mountain Pose. Take a moment to absorb the energy and strength you've cultivated, closing your practice with a few deep breaths.
Common Mistakes to Avoid: Fine-Tuning Your Pose
Neglecting Core Engagement
- How to Avoid: Always engage your core muscles before moving into the pose. A strong core is crucial for maintaining balance and alignment, so make it a point to activate these muscles from the beginning.
Arching the Back
- How to Avoid: If you find your back arching, it's usually an indication that you are not properly engaging your core. Focus on pulling your belly button toward your spine and maintaining a neutral pelvis.
Misaligned Hips
- How to Avoid: Keep your hips squared towards the floor. Open hips can throw off your balance and put unnecessary stress on the lower back. You can place a yoga block or a mirror beside you to check your alignment.
Bending the Standing Knee
- How to Avoid: While a micro-bend in the knee is acceptable, a noticeably bent knee can indicate weak leg muscles. Keep your standing leg straight but not hyperextended to better engage the muscles.
Dropping the Chest or Head
- How to Avoid: Keep your head in line with your torso and spine. Dropping the chest or head will disrupt your balance and spinal alignment. Keep your gaze focused on one point on the floor to help maintain balance.
Overreaching with Arms
- How to Avoid: Extending your arms too far out can also affect your balance. Whether you keep them extended forward or in prayer position, ensure they are in a comfortable position that allows you to maintain your balance.
Rushing Through the Pose
- How to Avoid: Warrior III requires a certain level of concentration and stability. Avoid rushing into and out of the pose. Take your time to establish a strong foundation in each preparatory step.
Ignoring Breath Control
- How to Avoid: Remember to breathe deeply and evenly through each phase of the pose. Your breath can serve as a guide, helping you find stability and depth in the asana.
Modifications and Variations: Tailor Your Practice
Modification 1: Wall Support
- How to Do It: If balance is a concern, you can perform Warrior III with your fingertips lightly touching a wall for support. This will help you focus on the form without worrying about wobbling or falling.
Modification 2: Chair Support
- How to Do It: For an even more accessible version, place a chair in front of you and rest your hands on the backrest while lifting the back leg. This is especially useful for beginners or those with limited mobility.
Modification 3: Lower the Arms
- How to Do It: If extending your arms forward is too strenuous, you can also keep them at your sides, or in prayer position at your chest.
Variation 1: Extended Hands-to-Big-Toe
- How to Do It: While in Warrior III, bend your knee and grasp your big toe with the first two fingers and thumb of your hand (the same side as the lifted leg). Extend the leg while holding the toe. This requires extra strength and balance.
Variation 2: Add a Twist
- How to Do It: Once in the pose, bring your hands into prayer position and rotate your torso towards the standing leg, keeping your hips level. This variation engages your obliques and challenges your balance even more.
Variation 3: Use Props
- How to Do It: Holding a yoga block between your hands as you extend them forward can help engage your arm muscles more actively. Alternatively, using a strap around the foot of your lifted leg can aid in alignment and engagement.
Preparatory and Counter Poses: Balance Your Practice
Preparatory Poses
1. Downward Dog (Adho Mukha Svanasana)
- Why It Helps: This pose stretches the hamstrings and strengthens the shoulders, both of which are essential for Warrior III.
2. High Lunge (Utthita Ashwa Sanchalanasana)
- Why It Helps: High Lunge opens up the hip flexors and strengthens the quads, making it easier to maintain balance in Warrior III.
3. Tree Pose (Vrksasana)
- Why It Helps: Practicing Tree Pose can improve your sense of balance, which is crucial for mastering Warrior III.
4. Plank Pose (Kumbhakasana)
- Why It Helps: Plank helps in building core strength and shoulder stability, aiding in the balance and strength required for Warrior III.
Counter Poses
1. Child’s Pose (Balasana)
- Why It Helps: This is an excellent pose for stretching out the spine and relaxing the muscles after the rigorous demands of Warrior III.
2. Seated Forward Bend (Paschimottanasana)
- Why It Helps: This pose offers a deep stretch for the hamstrings and spine, providing a nice counter-stretch to the backbending nature of Warrior III.
3. Happy Baby Pose (Ananda Balasana)
- Why It Helps: Happy Baby helps in relieving tension in the hips and lower back, which is particularly beneficial after holding Warrior III.
4. Corpse Pose (Savasana)
- Why It Helps: There's nothing like a good Savasana to allow the body to assimilate the benefits of your practice. It relaxes the body and calms the mind. Supported Savasana is great as well.
5. Cat-Cow Stretches (Marjaryasana-Bitilasana)
- Why It Helps: These poses are good for gently mobilizing the spine after the rigidity and focus required for Warrior III.
Conclusion: The Journey of Warrior III
Mastering Warrior III is a journey that tests both your physical and mental boundaries, strengthening your body and boosting your focus. As you practice, let the pose’s historical and mythological significance inspire you to embody the warrior spirit within.


Comments ()